Changing the Squeezebox Controller Highlight Color
From SqueezeboxWiki
What we are going to do
This article will describe how you can modify the Squeezebox Controller default skin so you can actually see the highlight when you are selecting items.
There is a forum post on this topic at https://forums.lyrion.org/showthread.php?t=75195
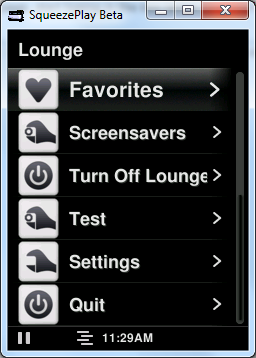
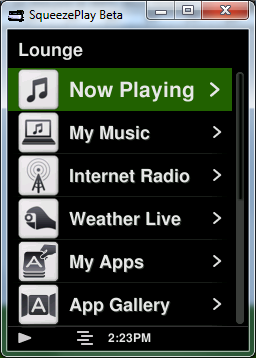
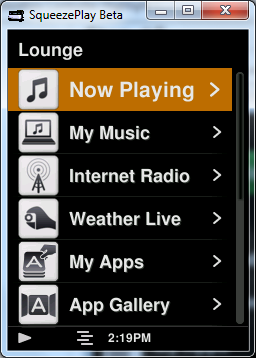
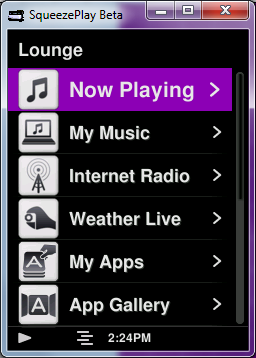
This is how the controller looks by default and the new highlight bar
To make this change all you have to do is modify two files on the Squeezebox Controller (three if you want to also change the popup menu highlight) - but it takes a couple of steps in order to do this.
Some Files
Here are some files for you to use (right click and select Save Image As)
The first image is the main scroll bar background (menu_sel_box.png), the second smaller is the part of the main scroll bar that has the ">" (menu_sel_box_r.png), and the 3rd image is the scroll bar for the popup menus (button_cm.png).
Here is a couple of Photoshop PSD Files that you can download and modify to make your own colours - generally darker colors are better.
Media:SqueezeBoxControllerNewHighlight.zip Media:SqueezeBoxControllerNewHighlightR.zip Media:SqueezeBoxControllerNewHighlightPopup.zip
Step #1
You must first enable SSH on the Squeezebox Controller.
To do this you must follow the steps below
- Grab your Squeezebox Controller
- Select Settings
- Select Advanced
- Select Remote Login
- The only option here is Enable SSH so click the center button to Enable SSH
- Take note of the IP Address you are given and the root password. The root password is 1234 by default.
Step #2
See this article for how to connect to the Squeezebox Controller using a program called WinSCP:
Step #3
I assume you are now connected with WinSCP if not see the article under step #2 for details of how to logon to the Squeezebox Controller.
In WINSCP we now want to navigate to the following folder on the Squeezebox Controller
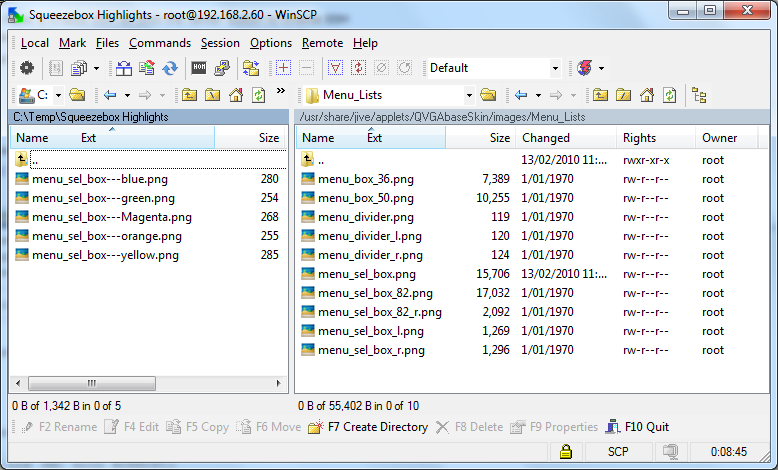
- /usr/share/jive/applets/QVGAbaseSkin/images/Menu_Lists
On the left hand side window (your local PC) navigate to where you saved the images you want to use.
See the following screen snap for what you should be seeing in the folder on the Squeezbox Controller (right hand side window)
BACKUP the Original Files
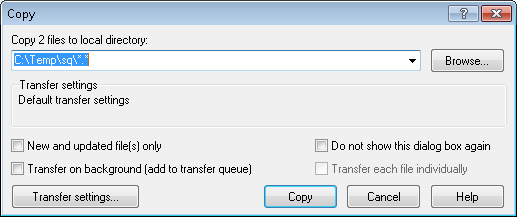
- Drag the file "menu_sel_box.png" and "menu_sel_box_r.png" from the Squeezebox Controller Display (Right Side) to the local hard disk (left side)
You should see a dialog like this
- After the files has been copied to your local hard disk you should rename them incase you want to restore them in the future.
- To rename the files in WinSCP select the file and press the F2 button and enter new name for the file.
COPY the New Files
- Select the the larger file (296x45) and rename that to "menu_sel_box.png"
- Select the smaller file (24x45) and rename that to "menu_sel_box_r.png"
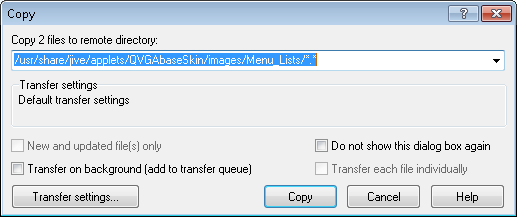
- Drag both of these files from the left window to the right window
- Select the Copy button on the dialog that shows up
- You will then be prompted to confirm that you want to overwrite the original files
- Select Yes To All and the files will be copied.
Step #4
This step is for the popup menu highlight - to be completed
Step #5
Turn off your Controller by pressing and holding down the Home button (looks like a house - bottom right button near the wheel)
Step #6
Turn your Controller on and you should now have the new highlight when you are navigating menus
If you have any problems or questions email me at [email protected]
